How to Style Your Photoshoot Using Photography Props
When it comes to a successful product photo shoot, styling is king. And the ace up your sleeve? Photography props. They are the unsung heroes that can take your images from good to great; they can tell a story, invoking an emotional response from your audience—and isn't that the reaction you're after?
But
here's where you might hit a snag: often, props are either overused or not used
to their full potential. You're about to see that's going to revolutionize the
way you look at and utilize photography props.
Why Photography Props Are Essential
First
things first, you need to understand why even bother with props. Props add
context and depth to your photos, creating an environment that highlights the
features of your product.
As
you're beginning to plan your photoshoot, keep in mind that every piece added
to the scene should have a purpose and complement your main subject, not
outshine it.
Choosing Your Props Wisely
So,
let's dive into selection. Always consider props that align with your product's
purpose and your brand's aesthetic. Are you going for a minimalist vibe? Maybe
a modern, edgy look? Your props should follow suit. Every choice, from a sleek
geometric stand to a rustic wooden crate, should contribute to that cohesive
theme.
But
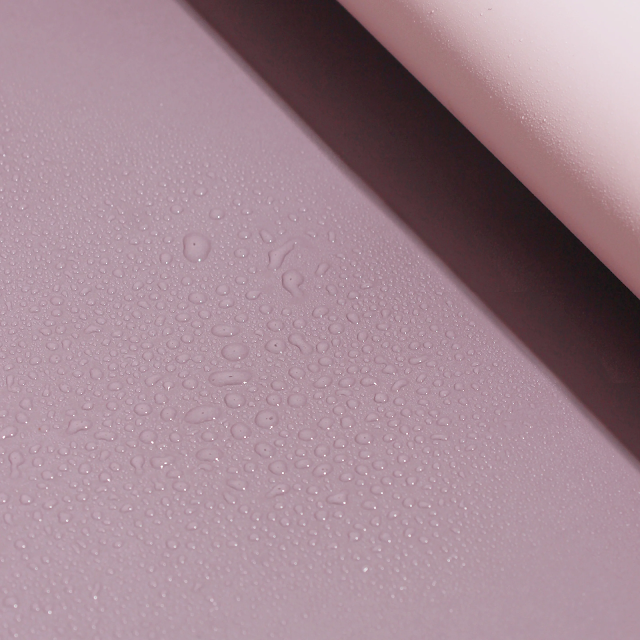
it's not just about the style. You also need to ponder the practicalities, and
this is where waterproof backdrops come into play. Say
goodbye to panic during a shoot involving ice-cold drinks or perfumes. These
backdrops will withstand any spills or splashes, leaving you to focus on
capturing that perfect shot.
Staging the Scene
As
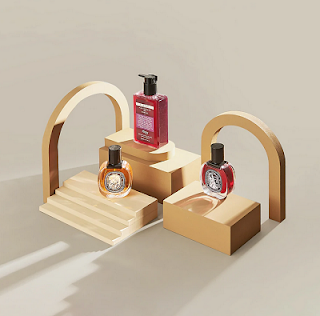
you begin staging, maintain a balance. For instance, when using risers and
stands, it's essential not to overcrowd the space. Each prop should serve to elevate
your product, quite literally sometimes, by adding levels and dimensions to
your composition. Conversely, a crowded scene will distract and potentially
confuse the viewer.
And
speaking of stages, let's talk about that all-important product photography backdrop. Your backdrop sets the
scene. It can transport your product to the cobblestone streets of Paris or a
minimalist studio set up in a snap. Choose a backdrop that complements, yet
doesn't compete with your product.
Lighting and Shadow
On
to lighting – the make or break of any photoshoot. Great lighting can create
interesting shadows, texture, and depth. Consider how the light interacts with
your props. Transparent or reflective props like acrylic shapes and mirrors can
manipulate light in creative ways, adding that 'wow' factor to your photos.
Capturing Different Angles
Remember,
variety is the spice of life—and photoshoots. Gathering multiple shots from
various angles gives you more options to choose from.
It
also means you have a range of images to use for different marketing materials.
Try shooting from overhead, eye level, and side angles to capture the full
essence of your product and props setup.
Editing Your Images
However,
the work doesn't stop once the shoot wraps up. Post-processing is where you can
enhance colors, adjust contrasts, and tweak the smallest details. It's about
finding the harmony between your product, props, and backdrop in a way that
looks both natural and appealing.


Comments
Post a Comment